Build your own text editor with Reason—Getting started
Warning!
As of September 29, 2020 I’ve decided to put this project on hold for a bit, until the
Revery team addresses
an issue with their
ScrollView component. While it’s not a showstopper, the UI wouldn’t really
work without it. I’ll be back on this as soon as the issue is addressed!
I’ve been thinking a lot about text editors lately, going so far as to playing with writing my own. In the process of exploring that idea I came across a tutorial written by Pailey Quilts on how to build a text editor in C. It’s a great write-up that thoroughly explains the code behind kilo, a simple terminal editor.
I’ve been writing code in Reason in different projects lately and I’m quickly falling in love with the language. I find the developer experience very pleasing, and I absolutely love the type system. I’ve also been keeping my eyes on Onivim 2, a new text editor that aims to have the usability of VSCode with the utility of Vim — an ambitious project to say the least!
It just so happens that Onivim 2 is built with Reason! More specifically, it’s built with Revery, a GUI framework that came to be because of Onivim 2. And all of this got me thinking; what would a kilo-like editor look like when made with Reason and Revery?
So, here we are. My take on Pailey’s tutorial, except instead of writing a simple terminal editor in C, you’re going to write a simple GUI editor in Reason!
Tip!
All the code and incremental changes will be published in ~reykjalin/kilo-gui.
Setup
Just like in Pailey’s post, the first thing you’ll want to do is to set up your environment.
To build GUIs using Reason and Revery, you’ll need to install
Esy. Esy is a package manager and build tool, similar to
Node’s npm, but built for Reason and
OCaml.
How to install Esy
The first thing you’ll need is Node. The LTS version
will do just fine. Node should come with npm, and it’s really
npm you need. You’ll use npm to install esy.
$ npm install --global esy
You may need to run this command as an administrator, in which case you’ll need to add the
--unsafe-perm=true flag.
$ sudo npm install --global esy --unsafe-perm=true
I’d recommend you try running the test project they’ve set up to make sure
esy is installed correctly. You can find instructions on how to do this in
Esy’s getting started guide.
Creating a Revery project
The simplest way to get started with a new Revery project is to clone the Revery quick start project, and go from there.
$ git clone https://github.com/revery-ui/revery-quick-start.gitI’ve found that the dependencies tend to be out of date here, and there might be some key differences in the Revery API between the version installed in the quick start vs. the latest version of Revery, so the first thing you’re going to do is update all the project dependencies.
Updating the project dependencies
The current dependencies can be found in package.json in the
dependencies and devDependencies objects. The dependencies should
look something like this
/* package.json */
"dependencies": {
	"revery": "revery-ui/revery#8fd380c",
	"@opam/dune": "2.5.0",
	"@glennsl/timber": "^1.2.0",
	"esy-macdylibbundler": "*"
},
"devDependencies": {
	"ocaml": "~4.9.0",
	"@opam/ocaml-lsp-server": "ocaml/ocaml-lsp:ocaml-lsp-server.opam#04733ed"
}
Finding the newest versions for your dependencies can be a bit tricky, so here is how I found the newest versions:
-
Revery‘s latest commit hash is
1531d5f. -
dune‘s latest version is
2.6.1. -
OCaml‘s latest version is
4.10.0. -
ocaml-lsp‘s latest commit hash is
b017b14. - Timber is already using the latest version.
-
The
*in esy-macdylibbundler means the latest version will be installed.
So after we update package.json the dependencies should look something like
this.
/* package.json */
"dependencies": {
	"revery": "revery-ui/revery#1531d5f",
	"@opam/dune": "2.6.1",
	"@glennsl/timber": "^1.2.0",
	"esy-macdylibbundler": "*"
},
"devDependencies": {
	"ocaml": "~4.10.0",
	"@opam/ocaml-lsp-server": "ocaml/ocaml-lsp:ocaml-lsp-server.opam#b017b14"
}
Updating the project metadata
Updating the project metadata to fit your needs is usually a good idea. You should use this
chance to do exactly that! You can find this project metadata in package.json.
/* package.json */
{
	"name": "kilo-gui",
	"version": "0.1.0",
	"description": "A simple GUI editor built with Revery",
	"license": "MIT",
	"scripts": {
	"format": "bash -c \"refmt --in-place **/*.re\"",
	"run": "esy x Kilo"
	},
	"esy": {
	"build": "dune build -p Kilo",
	"buildDev": "refmterr dune build -p Kilo",
	"buildsInSource": "_build"
	},
	"revery-packager": {
	"bundleName": "Kilo",
	"bundleId": "com.thorlaksson.kilo",
	"displayName": "Kilo",
	"mainExecutable": "Kilo",
	// ...
	}
}
The changes I’ve suggested here mean you need to rename src/App.re to
src/Kilo.re, and change some of the dune files to accommodate
these project changes. It’s a bit tedious to list all of those here, so I’d recommend you
look at
the commit
where I make these changes instead.
Building the project
The first build after updating your dependencies needs to be completely clean, so before
doing anything you should delete the esy.lock directory, which is used to lock
the dependency versions in place. If you don’t delete this directory now,
esy will not update the dependencies, despite the changes in
package.json.
$ rm -rf esy.lockNow you can build the project by running esy.
$ esy
Running esy will install your dependencies and build your project. This first
build will take a while since esy will actually build all the dependencies for
you. esy caches your built dependencies so subsequent builds will be close to
instantaneous. You just need to suffer through this long build time the first time you build
your project.
And now you can run the project!
$ esy runTip!
This command will both build and run the project for you! No need to run 2 commands, yay! 🎉
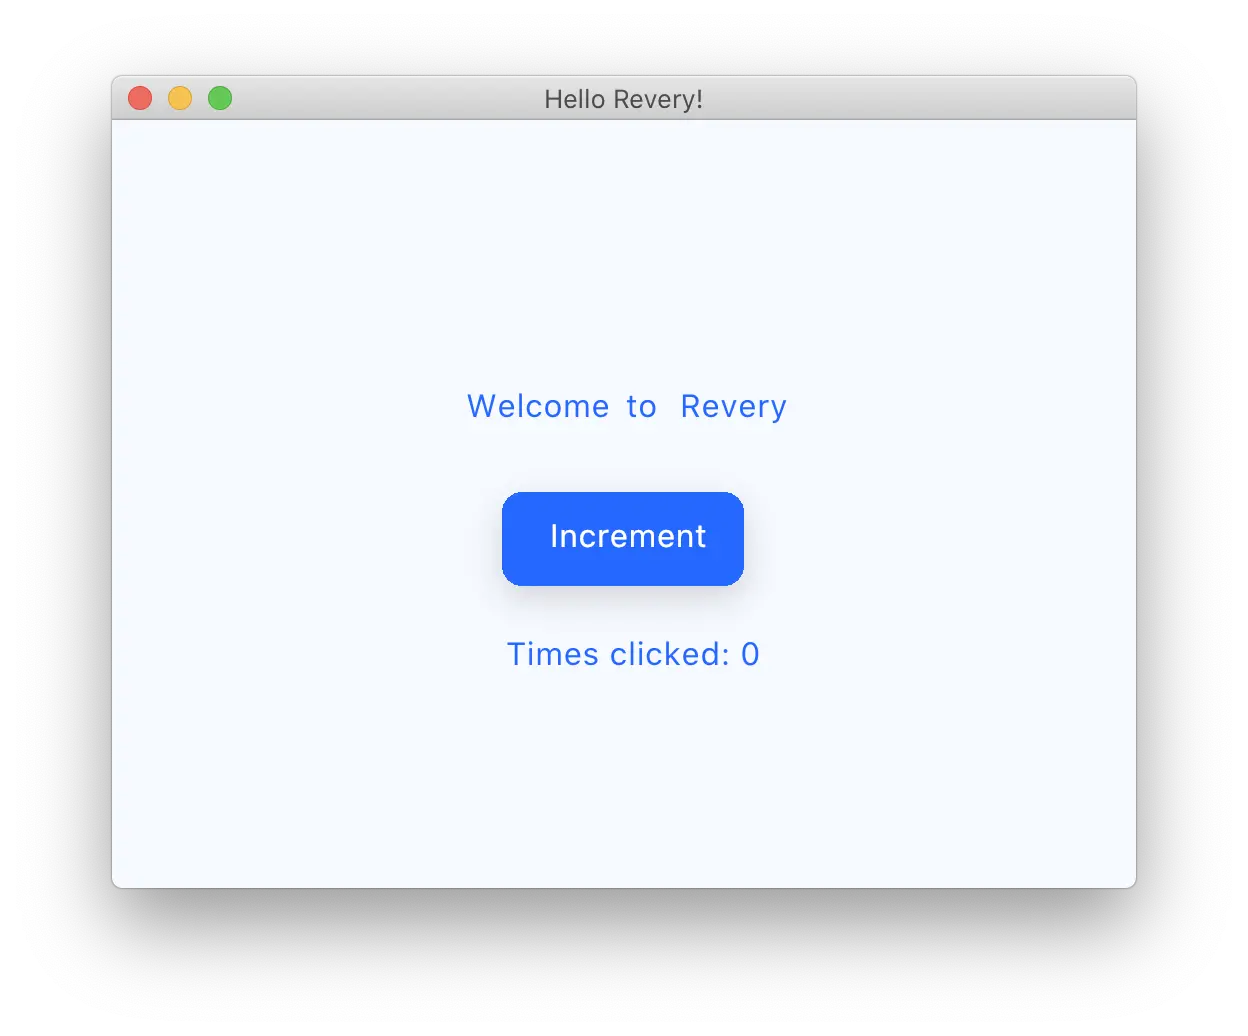
And you should be greeted with the default quick start app!
Make room for your own work
The last thing for you to do is
remove all the unnecessary code, and start with a clean slate. This is relatively simple; delete
src/AnimatedText.re, src/SimpleButton.re, and
src/Theme.re, and then modify src/Kilo.re. to remove the
unnecessary Style, and reduce the main app component to an empty component.
/* src/Kilo.re */
let main = () => React.empty;
Finally, you need to remove the dependency on Theme.re by changing the
win variable to
/* src/Kilo.re */
let win =
App.createWindow(
app,
"Kilo",
~createOptions=
WindowCreateOptions.create(
~backgroundColor=Colors.white,
~width=512,
~height=384,
(),
),
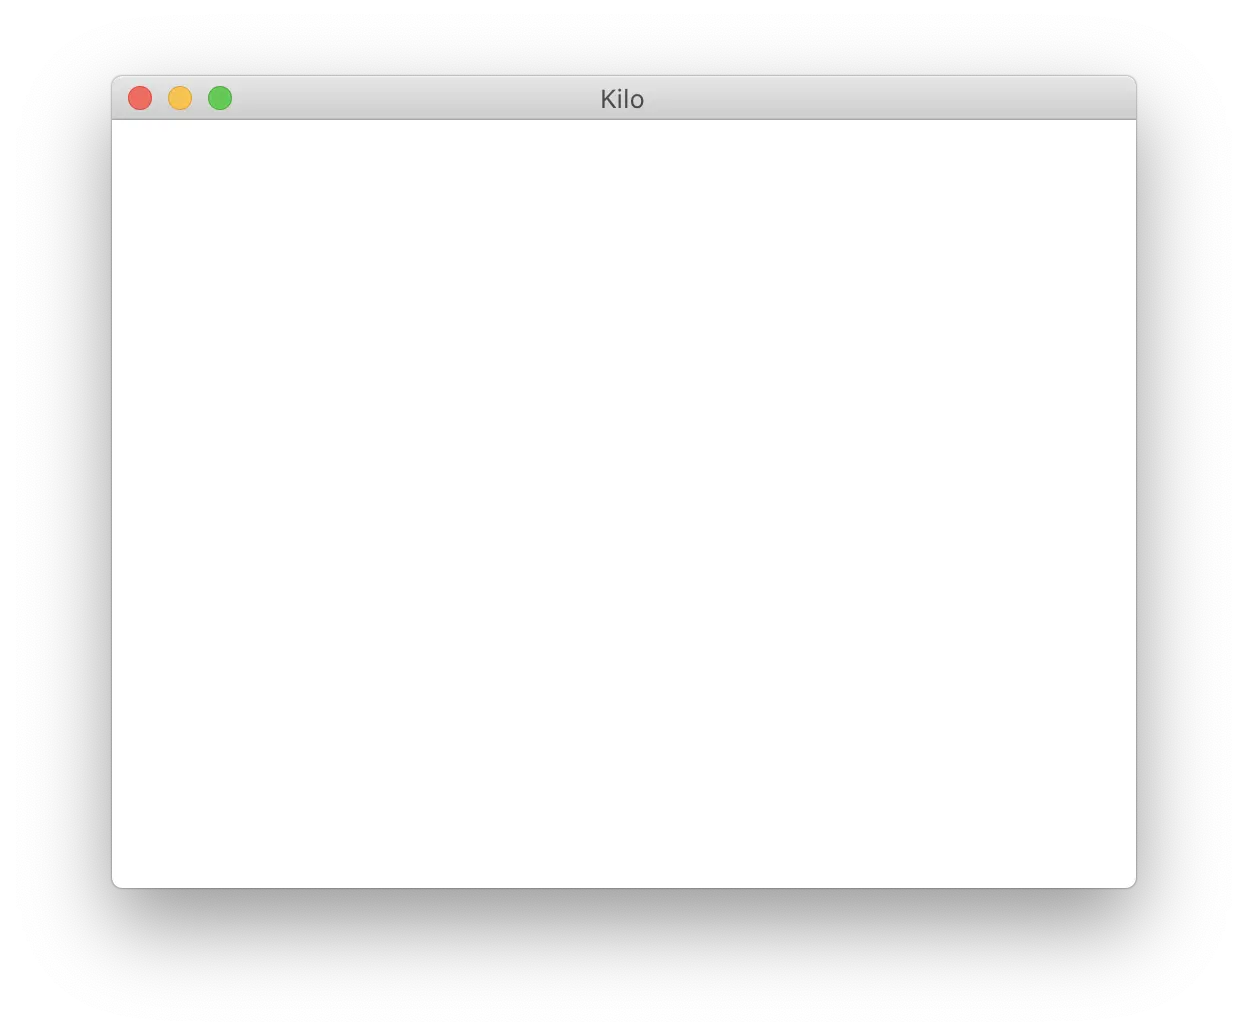
);Now when you run the program you should see an empty window—a great place to start a new project!
Going forward you’ll want to build and run the app to see the changes in action and make sure you didn’t accidentally break something. Like Pailey says:
It is easy to forget to recompile, and just run
./kilo, and wonder why your changes tokilo.cdon’t seem to have any effect. You must recompile in order for changes inkilo.cto be reflected inkilo.
The same can be said here! Make sure to run the app after making changes!
The next post will be up soon!